When troubleshooting a cooling system issue or optimizing motor
jack plate height, one of the first things to do is check cooling water
pressure.
Ideally, all boats would have a water pressure gauge installed, but
we all know that’s not reality. Unfortunately, even installing a water
pressure gauge temporarily if the boat doesn’t have one can be a
serious pain … until now.
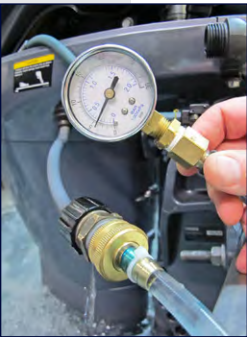
Here’s a quick and easy method to install a temporary pressure
gauge: Attach a pressure gauge to the freshwater flushing hose.
Seems so simple! Why haven’t we thought of this sooner?
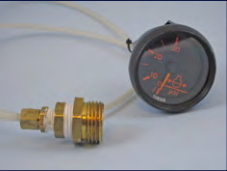
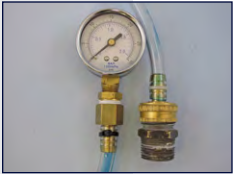
You need an appropriate water pressure gauge, of course. One
with a pressure range of 0~30 psi or so should work for most
motors, although you should get a 0~60 psi gauge or higher if you
work with SHO motors. Pick up the rest of the parts you need at
most any hardware or home improvement store: a male garden
hose fitting, a length of hose, and fittings to adapt your gauge to
the hose. Keep in mind the type and length of hose can affect the
pressure at the gauge, particularly if you use a long hose to allow
viewing at the console.
Before using this method as a diagnostic service procedure for
checking pressure, first check out your gauge on various normal running engines until you are comfortable knowing what you should
expect to see.
It is advisable to compare the pressure at the freshwater flush hose
and the designated gauge installation point on the crankcase.
The water pressure at the freshwater flush hose may not be the
same as the pressure at the gauge fitting point on the crankcase.
Record your readings and start a database for the motor.
NOTICE: When you are done with your gauge, make sure you
reattach the freshwater flush hose to the fitting on the lower
cowling. Failure to secure it will cause the motor to overheat.